Organization Settings
How to configure your organization's settings and preferences
The choices you make in Settings shape how participants experience your program day-to-day. A few minutes of thoughtful configuration here (choosing the right matching mode, enabling the right reminders) can meaningfully improve engagement and reduce the admin work you do later.
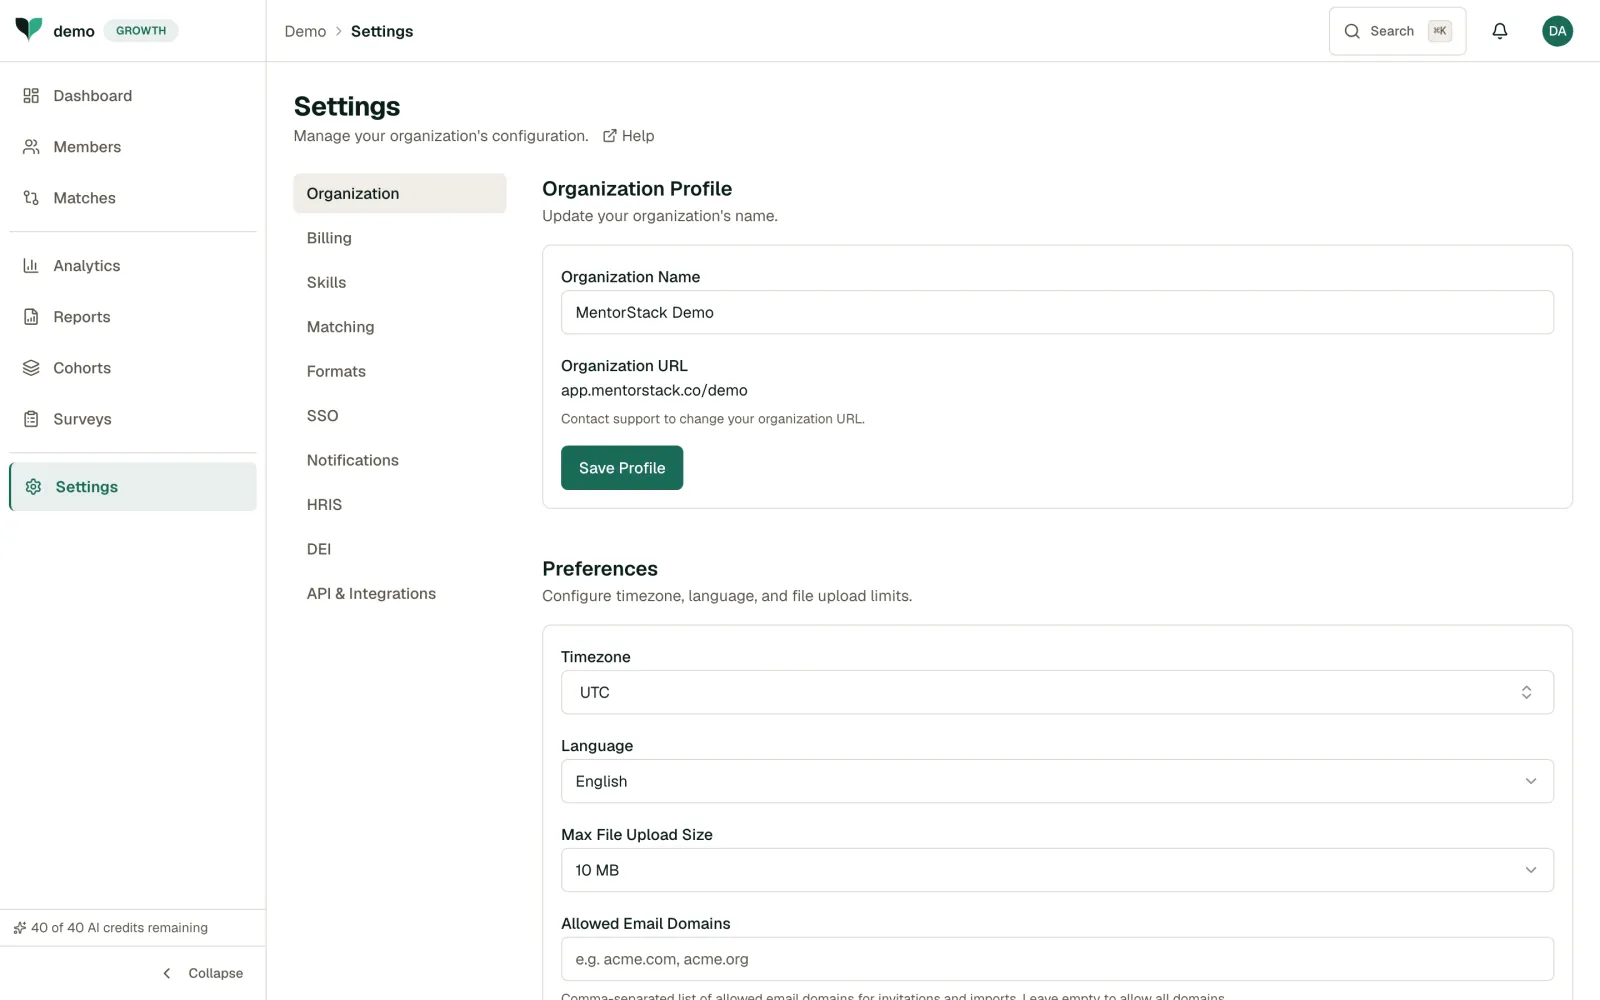
Settings are organized into four sections on the left:
- Organization: Organization, Branding
- Program: Skills, Matching, Formats, DEI
- Integrations & Security: SSO, Notifications, HRIS, API & Integrations
- Personal: Data & Privacy
Billing is not a settings tab. It's a separate page, reached by a Billing link (see Billing (opens in new tab) below).
Import program records
The program import guide previews the CSV workflow prepared for release. It covers participants, matches, goals, and past meetings. Production availability has not been verified.
Organization Profile
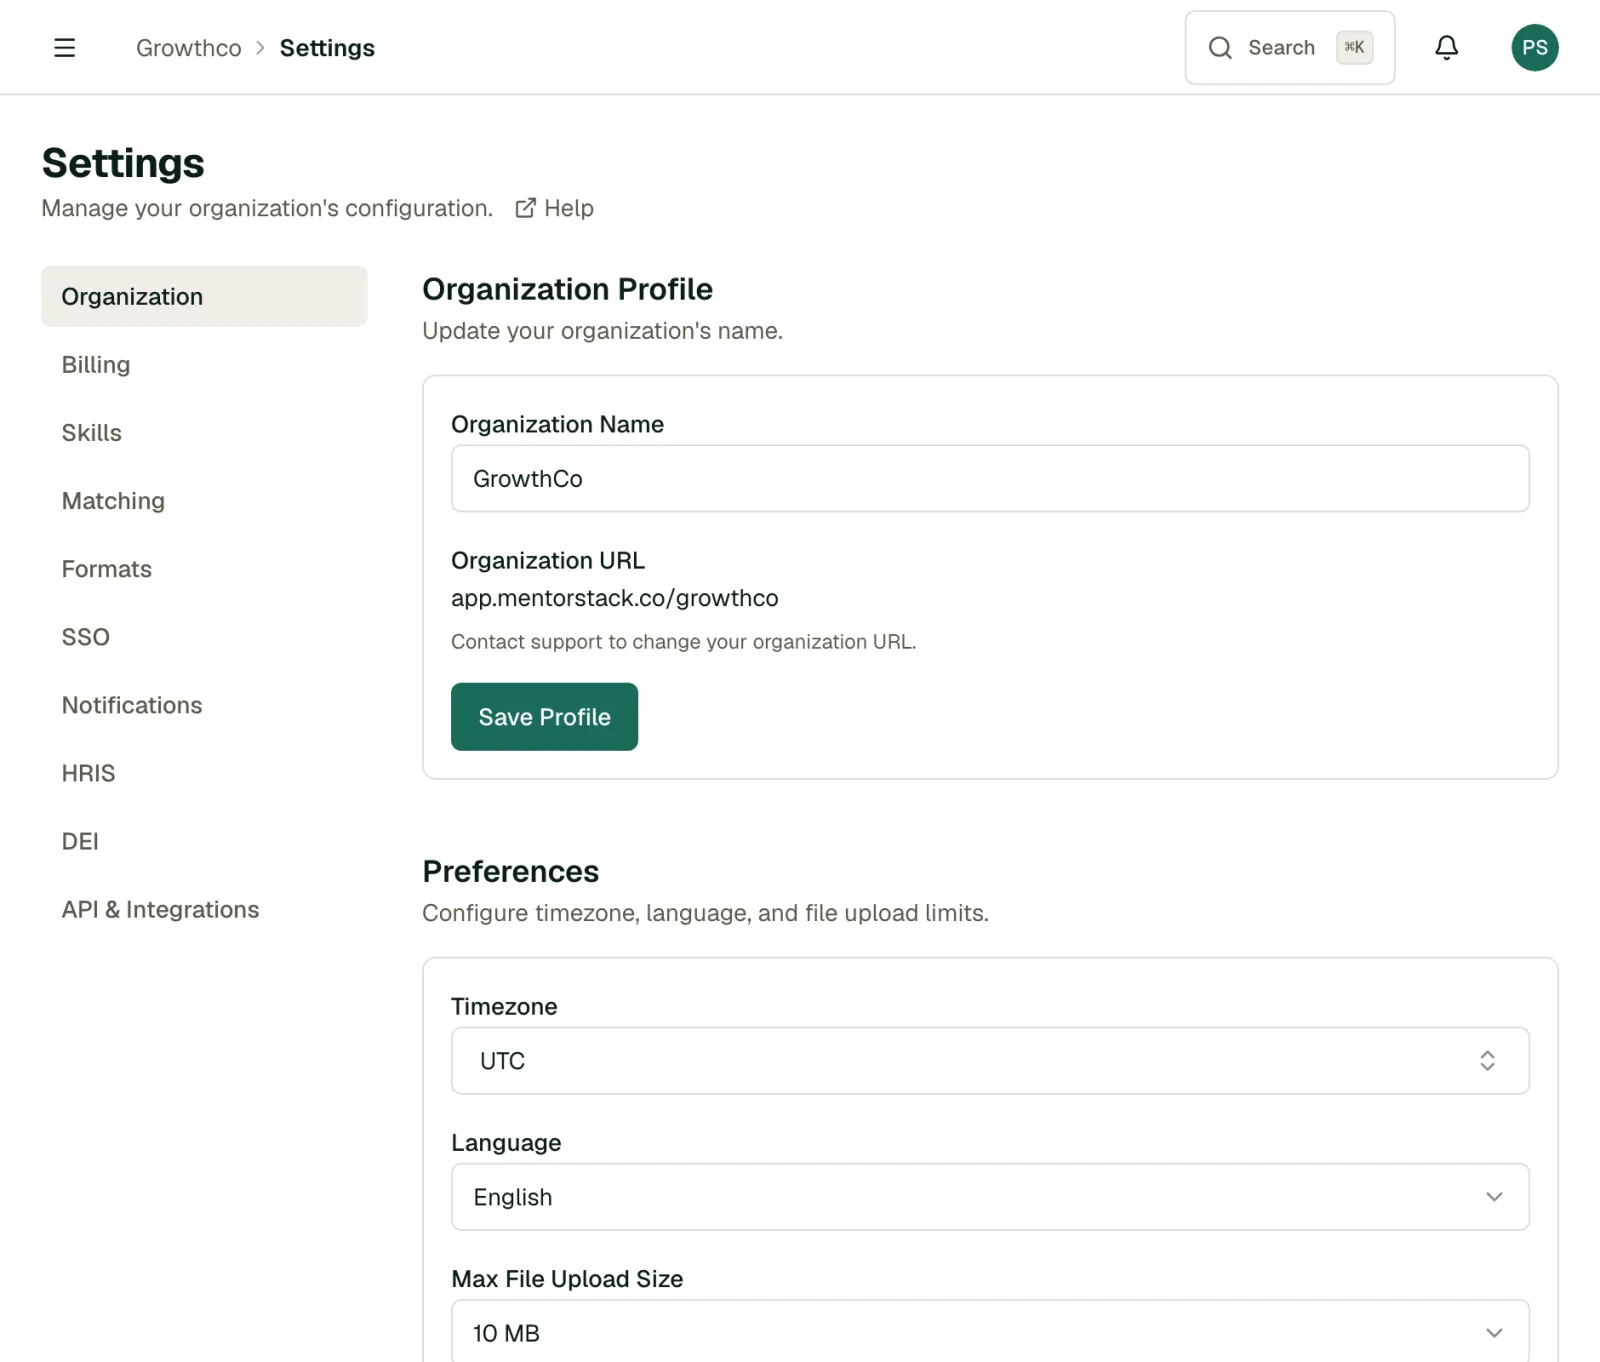
The Organization tab contains three sections:
- Organization Profile: Update your organization's display name. Your Organization URL (e.g.
app.mentorstack.co/demo) is shown here; contact support to change it. - Preferences: Configure timezone, language, max file upload size, and allowed email domains for invitations.
- Reporting: Set your Annual Attrition Baseline (%), used by the Retention (Directional) report section to compare participant retention against your organization-wide rate.
Branding
The Branding tab lets you add your organization's logo and brand color to generated reports, so PDF and scheduled reports look like they came from your company, not a vendor.
- Report Logo URL: Paste an HTTPS URL to your logo image.
- Brand Color: Enter a hex color, or pick one with the color swatch.
- Click Save Branding to apply your branding, or Clear to remove a saved logo or color.
Custom report branding is available on the Growth plan and above. If your organization is on a lower plan, you'll see an upgrade prompt in place of the editable form; a previously saved logo or color can still be cleared from any plan.
Tip
Set your branding once, before your first scheduled report goes out. See Generating Reports for where the logo and color show up.
Matching
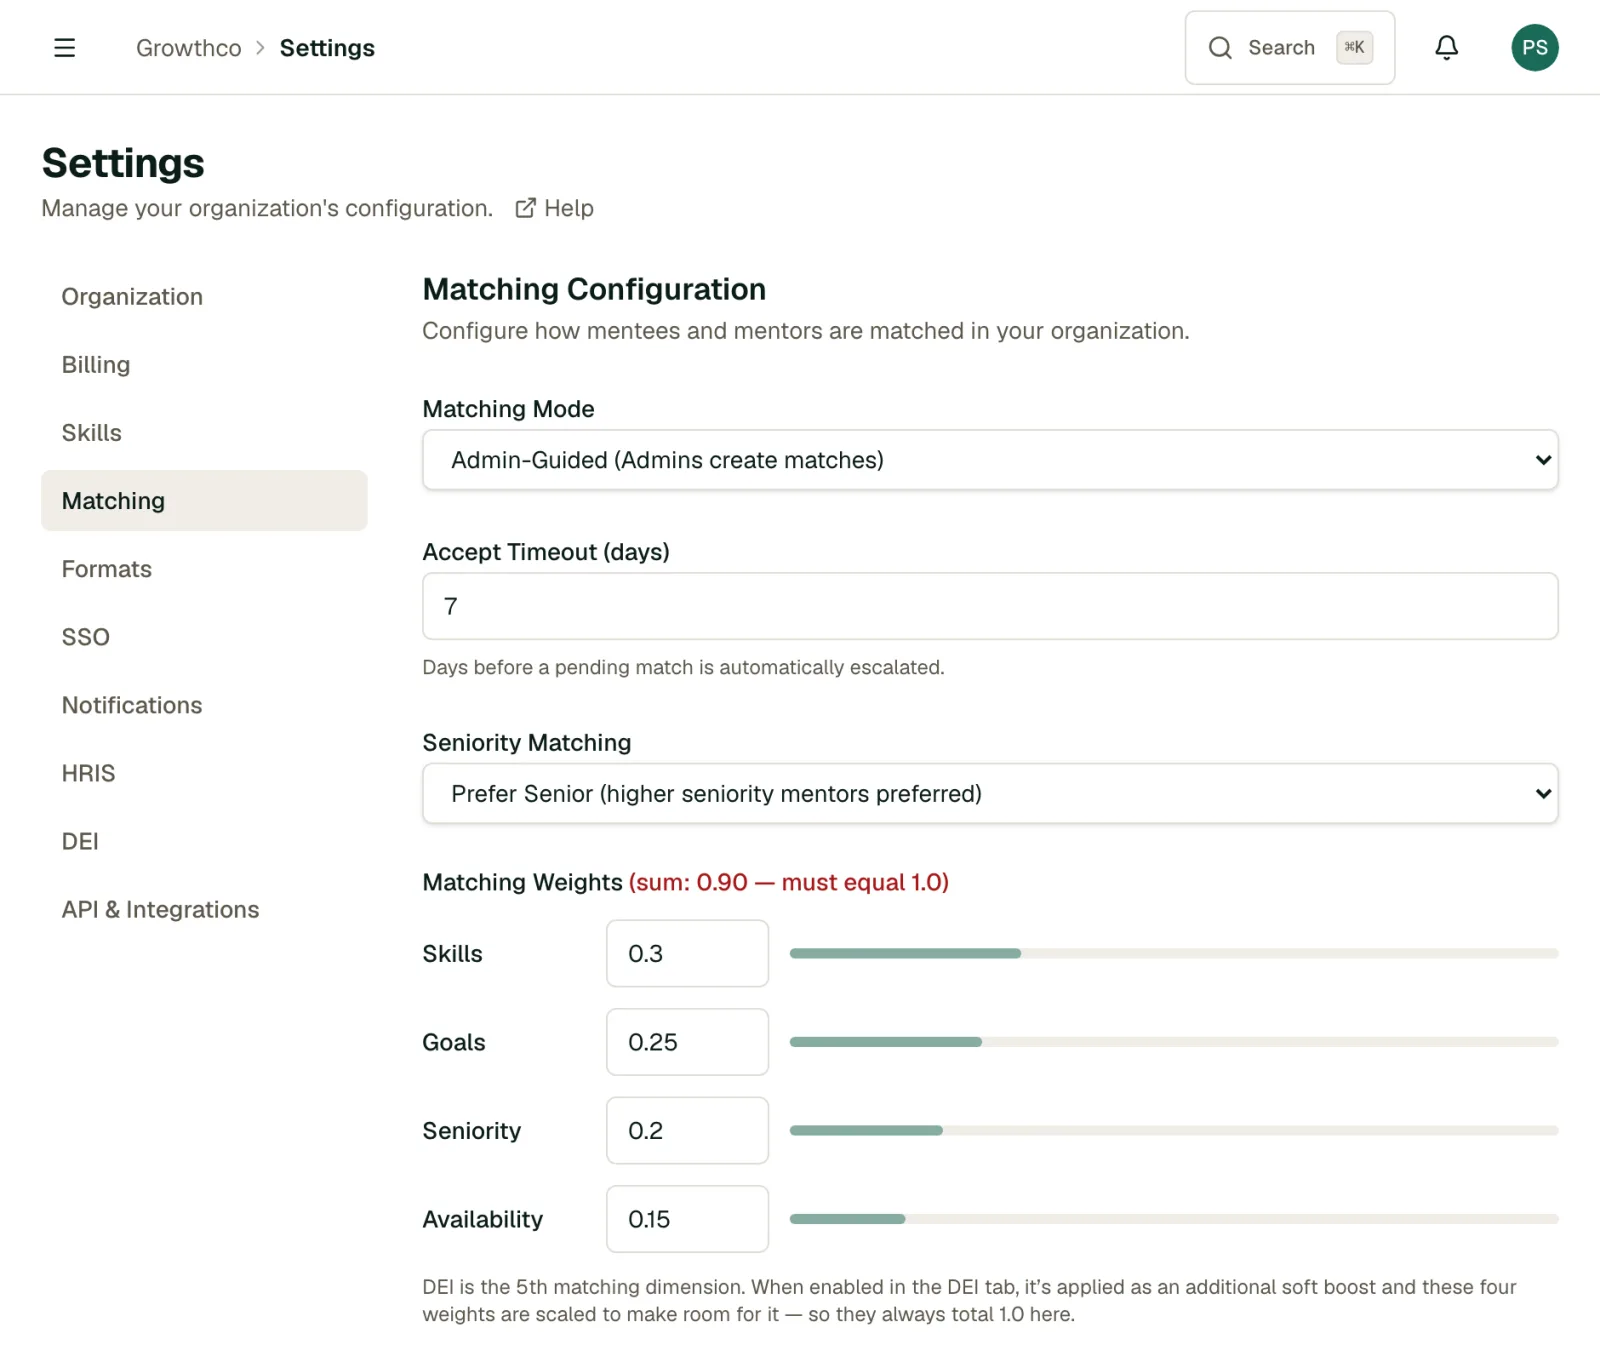
The Matching tab lets you configure how matches are created in your program. There are two matching modes:
- Admin-Guided: Admins create matches directly, ideal for smaller or high-stakes programs.
- Self-Select: Mentees choose from recommendations themselves, reducing admin overhead for larger programs.
Two toggles refine either mode:
- Platform-suggested matching: When enabled, mentees see AI-recommended mentor suggestions after saying what they're working toward.
- Mentor discovery: In Self-Select mode, lets mentees browse and request any available mentor, in addition to AI recommendations. Only available in Self-Select mode; Admin-Guided orgs assign matches directly instead.
Billing
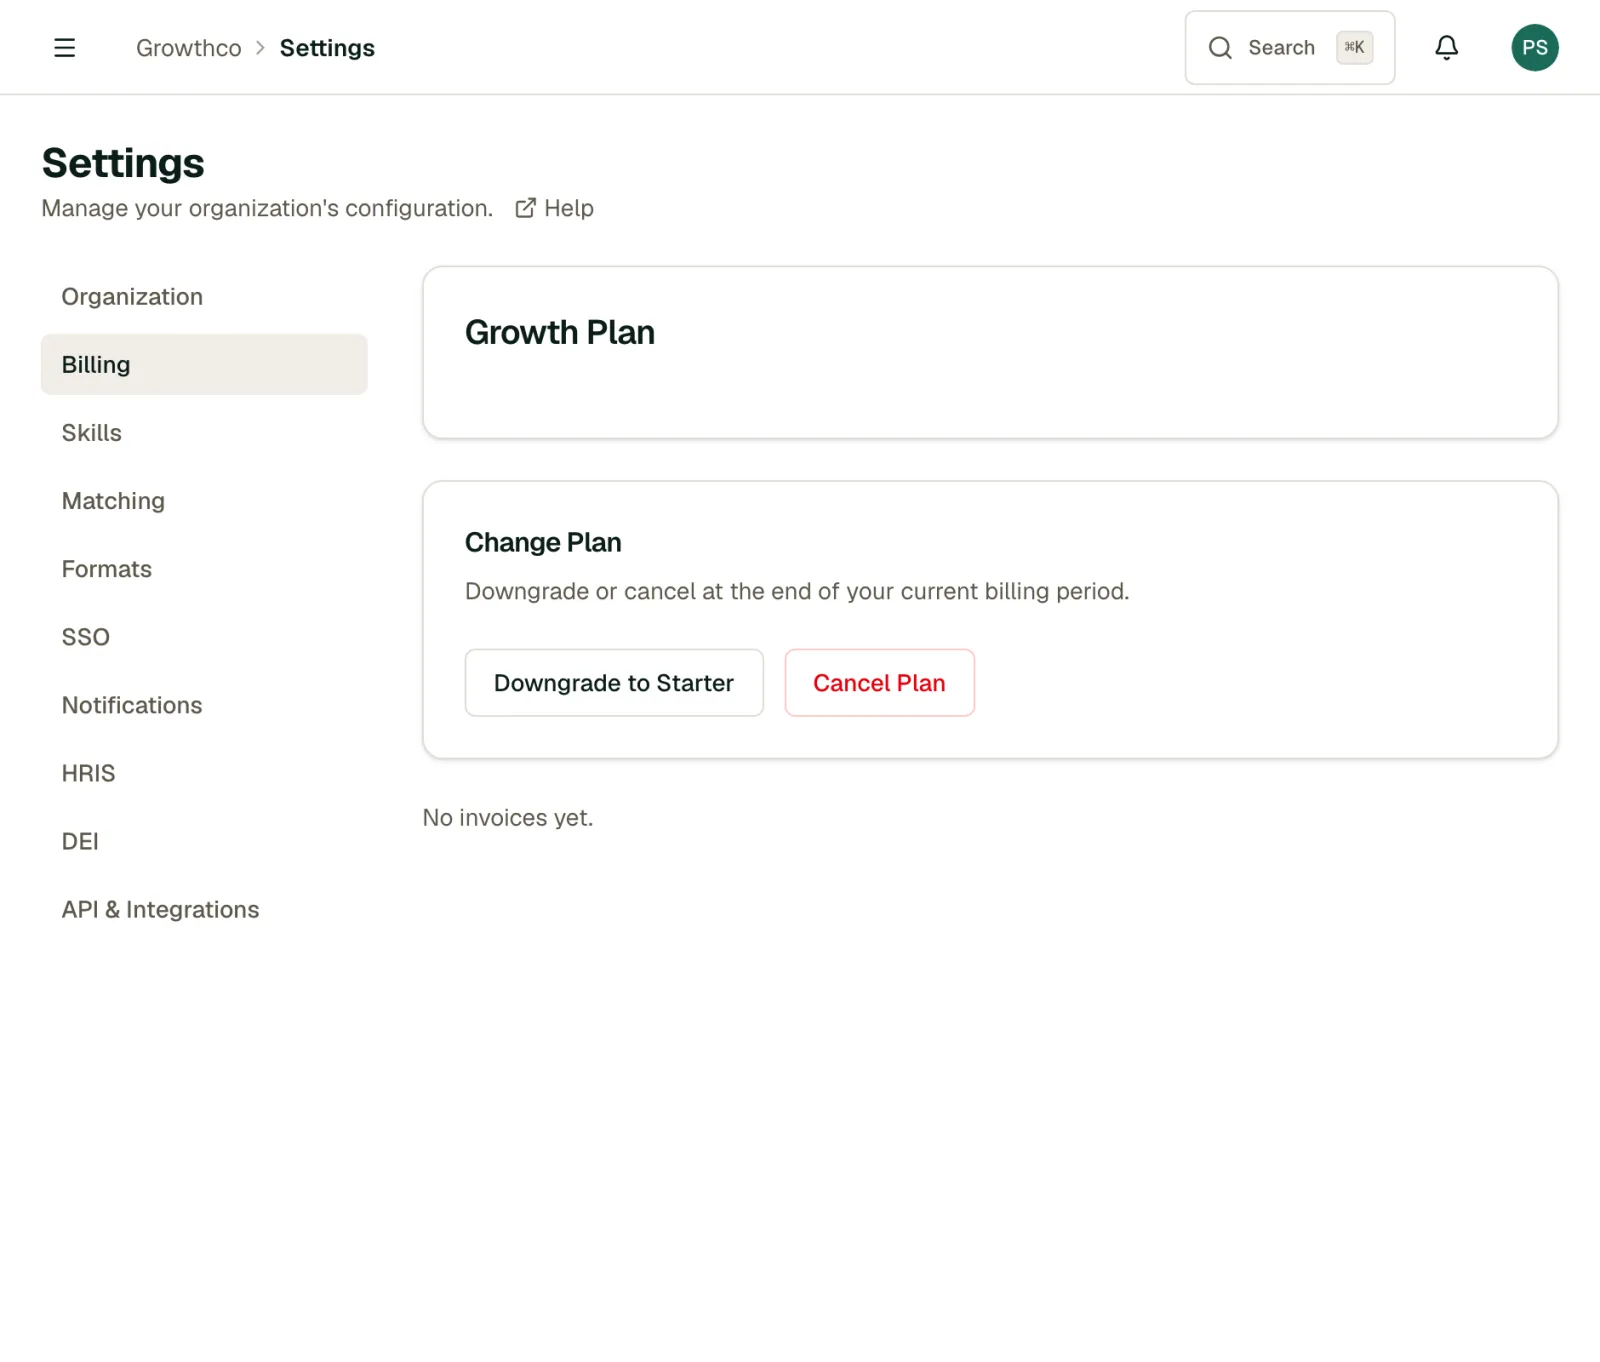
Billing isn't one of the Settings tabs above. It's a separate page, reached by a Billing link. It shows your current plan, seat usage, and invoices. Available plans:
- Free Pilot: Up to 10 members; all matching formats, core dashboard, limited AI credits
- Starter: Unlimited members; AI insights, bulk invite, Slack/Teams, org-specific skills, and reporting with export
- Growth: Everything in Starter plus SSO/SAML, HRIS sync, DEI metrics, scheduled reports, and custom report branding
- Enterprise: Custom integrations, dedicated support, and priority SLA
Changing your plan
- Open the Billing link.
- Click Upgrade (or Downgrade) on the plan you want.
- For a paid plan, set your seat count and choose monthly or annual billing.
- Complete checkout. Upgrades take effect immediately.
What counts as a seat
- A seat is an active member who takes part in the program: anyone with a Mentor or Mentee role. Admin-only accounts do not use a seat, so you can add program administrators without paying for them.
- A pending invitation holds a seat from the moment you send it. The Billing page shows this split, so "9 of 10 seats used (8 active, 1 pending invitation)" means one invite is still outstanding. Revoke it from the Invitations tab and the seat comes straight back.
- Deactivating a member frees their seat immediately; reactivating takes it again, and will be refused if there is no seat free.
Seats and downgrades
- Paid plans are billed per active participant; the Billing page calls these seats. Adjust your seat count anytime from the Billing page.
- Downgrades are scheduled for the end of your current billing period, so you keep premium features until then. Before confirming, you'll see a preview of what changes (features or seats you'll lose), and you can revert a scheduled downgrade any time before it takes effect.
- Manage payment methods and download invoices through the billing portal.
Note
Upgrades apply right away; downgrades and cancellations take effect at the end of the current billing period.
Handing Off or Closing Your Organization
- Add another admin: grant admin access to a colleague from the Members page (see Managing Members) so your program isn't dependent on a single administrator.
- Delete the organization: permanent org deletion is handled by MentorStack support to prevent accidental data loss. Contact support to request it, and export any data you need first.
- Your personal data: any member can download or delete their own data from Account → Data & Privacy (see Your Profile & Account).